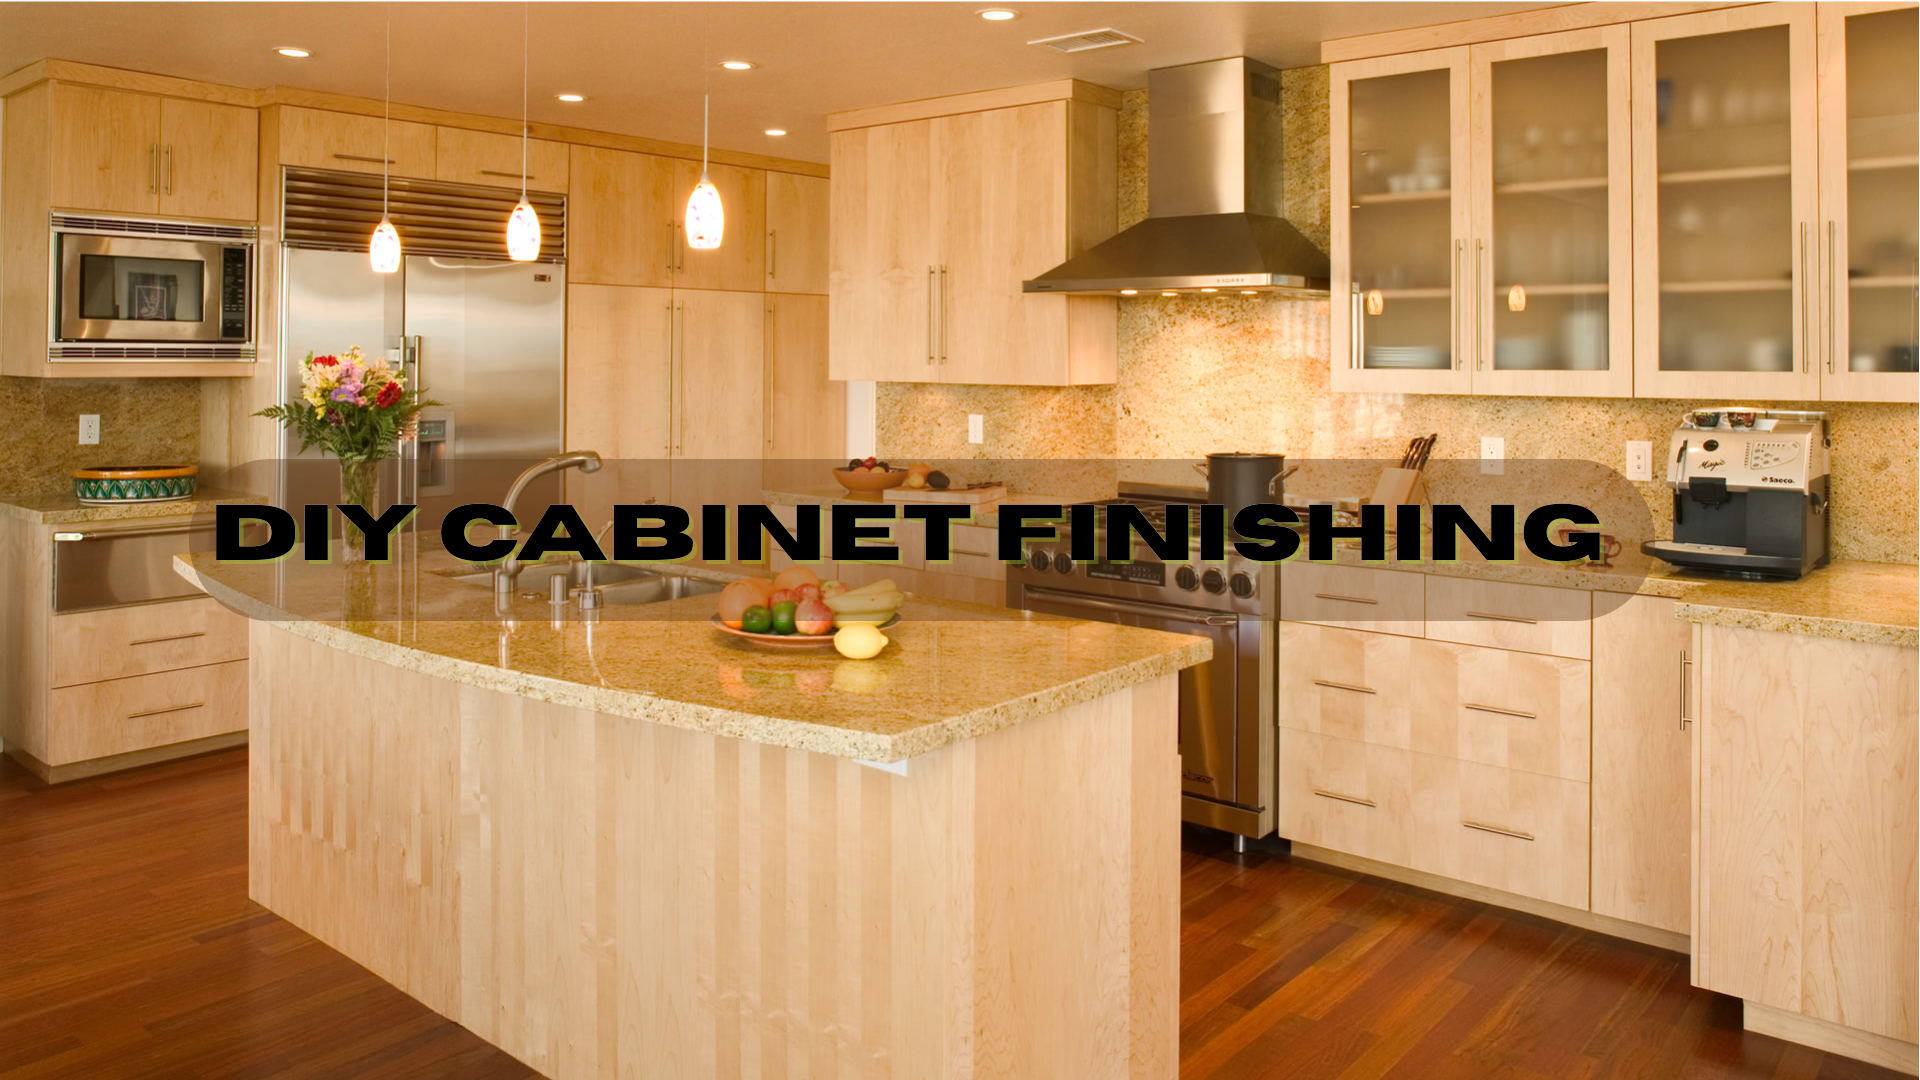
One of the most visible things in any of these kitchen, bathroom, or storage areas is cabinets. However, as time passes by, they might begin to appear fatigued, or grey or even out of fashion. You can give them a new life, a new coating without getting rid of them altogether; this is expensive indeed.
Self-finished cabinet work is a money-saving activity that can be used to create a unique appearance, and the space receives a serious upgrade. It can be a smooth painted style, a cozy stained finish or a glossy modern style of cabinet finish; either way it can be accomplished with time and the proper skills. Being a real estate investor, this guide will take you through all you require to know to attain a professional look that you will be pleased with.
Why Choose DIY Cabinet Finishing?
Using the option of completing your own cabinets would present you with greater options in terms of style, color and design. It also costs hundreds (in some cases, thousands) of dollars, instead of hiring a contractor. Besides, it is a fulfilling do-it-yourself project that would instantly turn around your space without destroying it.
Benefits of Taking on a Cabinet Finishing Project Yourself
- Saving on cost against having to replace or refinish by a professional.
- Power to personalize colors and designs to suit your house.
- The perfect weekend fix that adds value to your house.
- Good results in the long term when properly undertaken.
Tools and Materials You’ll Need
Essential Tools for a Professional Finish
To get a flawless cabinet finish, you’ll need the right tools:
- Sandpaper (120- and 220-grit) or an orbital sander.
- Brushes and foam rollers of high quality.
- Painter’s tape
- Drop cloths
- Hardware removal screwdriver/drill.
- Microfiber cloth or tack cloth.
Optional: paint sprayer to achieve smooth and even treatment.
Must-Have Finishing Products
The products you choose matter just as much as the tools:
- Primer (for painting)
- Paint (oil-based or water-based)
- Stain (gel, liquid, or water-based)
- Clear protective coat (polyurethane, poly acrylic, or wax)
- Wood filler for cracks and holes
Preparing Your Cabinets for Finishing
How to Remove Cabinet Doors, Drawers, and Hardware
Begin by naming your doors, drawers, and hardware and removing them. Cut screws and handles and put them in a marked bag in order to lose them. This will simplify the process of finishing every surface without any hindrance.
Cleaning and Sanding: The Key to a Smooth Finish
Wipe off all surfaces using a degreaser to take off oil, grease or residue. Next polish the cabinets to remove flaws and allow the finish to be stuck on better.
Fixing Imperfections
Repair scratchy or dents and worn-out hardware holes with wood filler. Sand the ground wall dry. This forms an ideal foundation of the paint or stain.
Choosing the Right Finish for Your Cabinets
The appearance and the feel of your kitchen can entirely transform by selecting the appropriate paint to finish your cabinets. Slick paint or even rich stains or clear coats each has their own style and degree of longevity. The trick here is to suit the finish to your type of wood, design objectives and needs of your lifestyle.
Paint, Stain, or Clear Coat: What’s Best for Your Style?
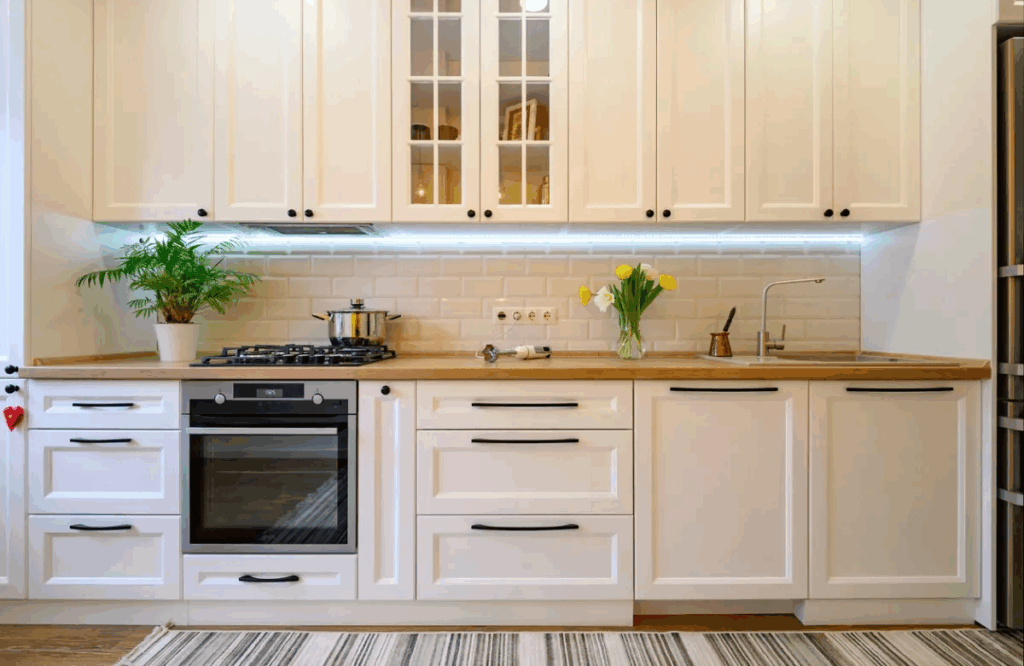
- Paint: Excellent when one wants it bold and modern. You have a choice on whether to have infinite color options.
- Stain: Ideal where you wish to emphasize the beauty of wooden cabinets finishes.
- Clear coat: Suits you perfectly and you just need protection.
Selecting the Right Sheen
- Matte: Trendy and soft but not very durable.
- Satin: Midway in strength and design; commonly the most discussed finish in the kitchen cabinets.
- Gloss: Glossy, reflective, and very tough-very much modern cabinet finishes.
Considerations for Wood Type
All of the wood absorbs stain differently; oak, maple, cherry, and pine. A pre-stain conditioner might be required to give softwoods an even appearance and hardwoods might also be easy to stain.
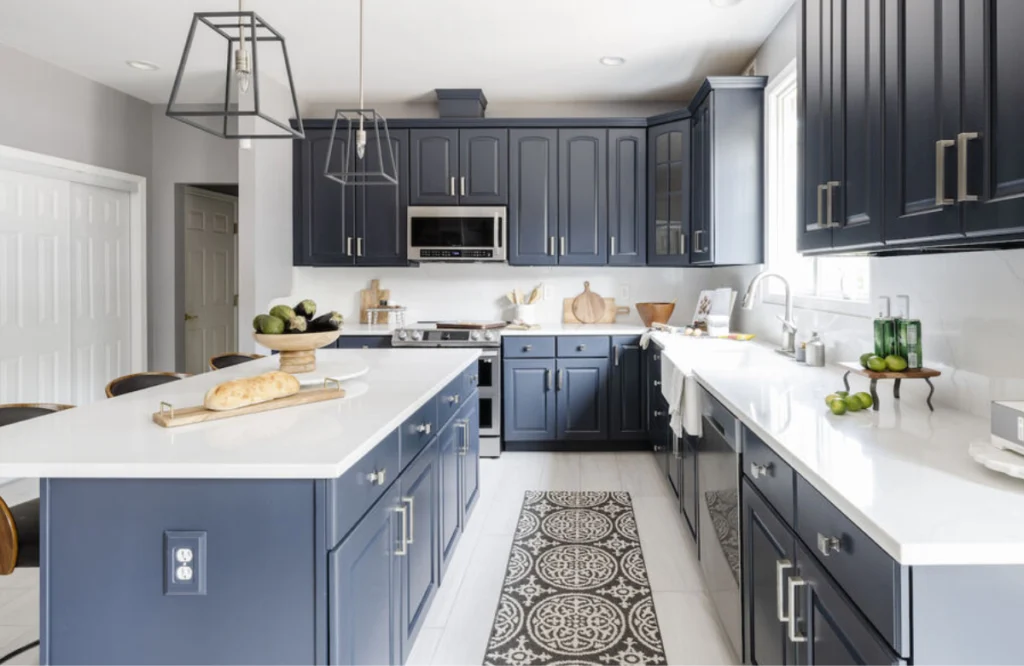
Painting Cabinets
One of the simplest things that you can do to ensure that your kitchen or bathroom appears new and updated is to paint your cabinets. Having the proper preparation and skills, even a DIYer can attain smooth professional results.
How to Prime Cabinets
Primer provides a smooth base and does not allow bleeding stains. The number of coats that are applied is one to two and sanded in between.
Choosing the Right Paint
Paints that are made of water are simple to clean and dry fast. The oily paints are strong and slower to dry. Water-based paints are usually used in the kitchen cabinets.
Techniques for Applying Paint Evenly
- Brush: Angled brushes should be used when dealing with corners and details.
- Roller: This type performs well on smooth surfaces to prevent brushstrokes.
- Spray: This type provides a factory like finish, however, it must be set-up and ventilated.
Staining Cabinets
Staining cabinets would be a wonderful way of bringing out the natural beauty of wood and also giving your space a warm and rich appearance. Stain also intensifies the grain and texture unlike paint, and thus, each cabinet is unique.
Staining vs. Painting
The natural grain of the wood is left visible with the help of stain and a warm and timeless appearance is achieved, whereas the paint is applied over the grain in order to achieve a smooth and contemporary feel.
How to Apply Stain
Use a brush or cloth to apply the stain, wait a few minutes and remove the excess. Various layers are possible to create a more rich shade.
Tips for a Professional Stained Finish
- The Secret of a Professional Stained Finish.
- Test stain on a blank area.
- Always cut across the grain of the wood.
Applying a Protective Topcoat
Why You Need a Topcoat
Topcoat helps to keep your cabinets scratched, spilled, and generally used every day. It is notably needed in kitchens and bathrooms where the level of humidity and grease can be found.
Best Clear Coat Options
- Polyurethane: hard-wearing and strong, ideal for heavy use cabinets.
- Polycrylic: Water based, transparent and less susceptible to ageing.
- Wax: Provides a more natural finish that is soft but needs to be reapplied.
How to Apply Topcoat Smoothly
Apply on a high quality brush or sprayer, take thin layers and Sand in between to have a smooth finish.
Tips for a Flawless Finish
A professional level of smoothness is brought down to the minute details. The following are some of the main tips that should guide you to achieve the best outcomes in your DIY cabinet project:
- Prep Properly – Do not forget to sand and clean. Sanding assists in painting or staining sticks and cleaning removes grease and dust which may destroy the finish.
- Use Thin Coats – Apply multiple thin layers as opposed to one thick layer. This avoids drips, streaks and uneven covers.
- Let Each Coat Dry – Haste causes sticky floors and peeling. Do not exceed suggested drying time.
- Work in a Clean Area – Wet paint can be covered with dust and debris. Always clean your workspace and clean surfaces between each coating.
- Label Doors and Drawers – Label every item as you take it off. This gains you a fast and easy re-setting-up when your finish is complete.
Finishing Touches: Hardware and Final Details
After you have taken the time to dry off your cabinets, replace your hardware such as knobs and pulls, to make a complete change. Reassemble drawers and doors. Remember to smooth out edges or corners to a smooth appearance.
Maintaining Your DIY Finished Cabinets
How to Care for Painted, Stained, or Varnished Cabinets
- Wash with a damp cloth.
- Do not use severe cleaners which remove the finish.
- Wipe the spills immediately to avoid damage.
Cleaning and Re-Touching
- Cabinets painted: Cleanse with mild soap and water.
- Stained cabinet: Place a clear sealer every few years.
- Waxed cabinets: Buffed now and then to shine.
Common Mistakes to Avoid in DIY Cabinet Finishing
- Laying it off without sanding or cleaning.
- Using excessive paint or stain at a time.
- Leaving out of labeling cabinet doors and hardware.
- Leaving off coats un-dried.
- Performing under dim conditions and omissions.
Conclusion
Homewood finish of cabinets can be slow and tiring, yet rewarding. With a proper preparation, the selection of the desired finish, and the application of the protective coats, you can obtain that professional appearance without huge costs. Going with painted cabinets, wood cabinet finishes, or modern cabinet finishes is a project that will give your space a fresh look, as well as make it feel new all over again.
Ready to transform your cabinets with a perfect finish? To explore more, visit JLT Kitchen Refinishing.
FAQs
Satin is commonly the most preferred finish because it is a compromise of style and durability.
The time to complete it, including drying time, depends on the size of your kitchen and is 3-5 days.
Yes, but you will have to have a strong bonding primer before you paint or finish.
Oil polyurethane is very tough, water poly acrylic is also tough and non yellowing.
The protective coat or buff wax finishes need to be touched up after every few years.
Spraying provides the best finish, whilst brushing and rolling are suitable on smaller jobs.